Tuesday, March 8, 2011

Mini pie-in-a-jar


Because I'm a crafty person and, well, I guess a bit cheap... I'm always on the lookout for gifts that I can make myself. And no, not some kitschy knick-knack that will promptly be re-gifted or tossed out in the trash... I usually end up going with food, because who doesn't like food?! So during my last hunt I found these mini pies that you can bake right in the jar and made them for my family last Christmas and they were a big hit.

Now the original blog suggested you use the half pint jars with the wide mouths... but after scouring the city I could only find the regular mouth (just taller and skinnier).  I've discovered that Ace Hardware carries them, but they're usually not in stock, so you'd have to order them online and they ship to the store for free.  My mom actually found these half pint jars that have the wide mouths, but they are more beveled which might make it a bit tougher to get your spoon in there- but not too bad.

8 oz (1/2 pint) regular mouth jars
8 oz. (1/2 pint) wide mouth jars


First you need to get a simple pie crust together.  You can buy the pre-made dough or I've even bought the little packets at the grocery store and you only have to add water, which is super easy!  You can also make your own easy butter crust , like so...

Easy Pie Crust
1 stick butter cut into pieces
1 & 1/3 cup flour
2 Tablespoons cold water
dash of salt

in a medium sized bowl, mix flour and salt then add butter. They call this 'cutting in the butter' and you can use a pastry or dough blender, but I don't have one so I just went at it with my hands and smushed it all together until it looked like this
dough blender


Next, add the water 1 Tablespoon at a time until combined and it's ready to go!

I greased the jars a little bit with cooking spray just in case.  You're supposed to be able to pop the pies out of the jars and serve them on plates, but since I love the crumb topping, I just plan on eating right out of the jar, so the spray probably isn't that necessary...

You line the jars with the dough, that's why the shorter, wider jars are better so you can get your fingers all the way to the bottom. Just take small bits and flatten them out and smush them to the bottom and sides of the jar.
(This batch of dough filled 4 jars, only one of which had a dough cover)

Next, decide on your filling. If you're lazy, or just culinarily-challenged (yes, I realize I just made up a word) you can just buy the canned filling like I did! Since I love cherry pie and cherries aren't in season, I didn't feel guilty at all! Or you can go all Betty Crocker and mix up your own pie filling.  Last time, I had some apples in the house and made up my own version with some flour, sugar and cinnamon, but you can check out the original blog for more tips.

Fill the jar, but leave a good inch or so at the top for your crumb topping or else you'll overflow.

Now, you can roll out a bit of your dough and use the jar's ring as a cutter to make a cover.  You'll also want to cut out a small top to act as a vent. Then press the topper into the dough already in the jar.


Or, you can mix up a batch of the crumb topping and add some to the top of the jar- again, not all the way to the top or it'll fall out as the filling bubbles.

Crumb Topping:
1/4 cup brown sugar
1/4 cup flour
2 Tablespoons oats
1/4 Tablespoon cinnamon
3 Tablespoons butter (cut into pieces)

Mix all the ingredients together and repeat the 'cutting in' procedure. (I used my hands again)


Add topping to the filled pies,  but remember not to go too close to the top or they'll overflow.


I made these little labels and stuck them on with double-sided tape so people would know how to bake them.  All you do is take off the lid and pop 'em in the oven at 375 for about 45 minutes, or until the crust is golden brown and the filling is bubbly! You can even freeze these and bake 'em without defrosting! (just increase the baking time to 50- 60 minutes)

I found that it helps to place the jar on a Silpat on a baking sheet so it doesn't slide around when you take it out of the oven.
Let them cool down a bit before you dig in, they'll be HOT! Enjoy!
Ready to eat!
This slid right out of the jar onto the plate. Now since it's in the regular mouth jar, it's a bit tall and might start imploding on itself...

This is me digging in- LOVE!


Friday, March 4, 2011

Reusable Produce Bags

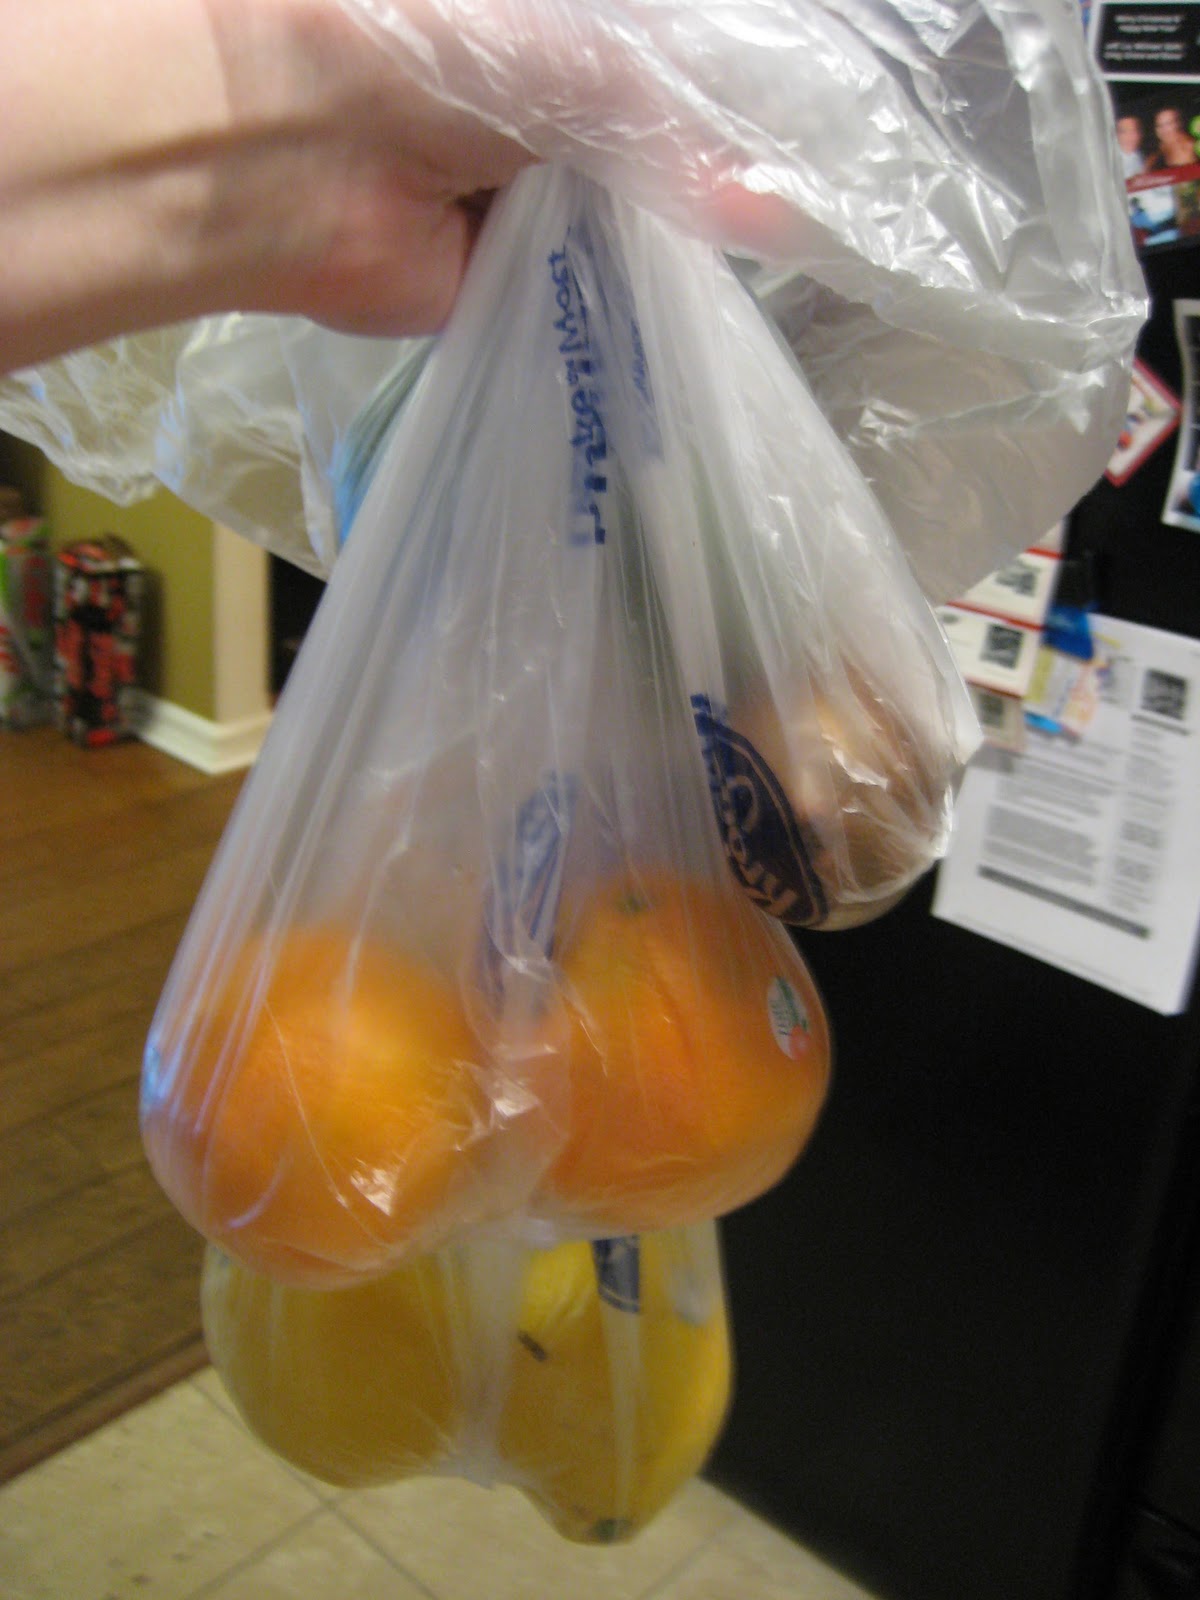
I really hate going to the grocery store with my reusable bags and then coming home with a handful of those annoying clear produce bags...

So I did some searching and I found these reusable bags and have been using them instead!


You get 5 bags that have drawstring closures. Very nice!

Wednesday, March 2, 2011

Beer Bread Mix

I absolutely love those pre-made beer bread mixes that you can buy for a pretty penny, but I decided to make my own mixes and give them as gifts last Christmas:) 

So here's what you'll need for the basic mix:
3 cups all-purpose flour
1 Tablespoon sugar
1 teaspoon salt
1 Tablespoon baking powder
Mix all ingredients together and then put it in a jar:) you can attach a cute little card with the baking directions and what ever other decorations you would like. But here's the basic idea.

You can also include a little baggie of herbs for a flavored variation.
I did the mixed herb variation today!
Add 1 teaspoon each dried: rosemary, oregano, thyme, garlic powder (2 Tablespoons if fresh herbs) to the basic mix


Baking Directions:
Add 12 oz. of any beer to the dry ingredients and mix until combined.

Spread dough in an 8inch loaf pan and brush with egg glaze or melted butter (whichever you choose) or just leave it out... bake at 350 degrees for 45minutes to an hour until golden brown.


yummmmm!


Here are some other flavor variations:

Cheddar-dill:
2 Tablespoons fresh (or 2 teaspoons dried) Dill
1 cup grated cheddar cheese

Dill & Chive:
2 teaspoon dried dill & 1/4 cup chopped fresh chives

Rosemary & Feta
2 Tablespoons fresh rosemary & 1/4 cup crumbled feta cheese

Italian:
1 teaspoon each dried basil & oregano, 2 minced garlic cloves, 1/2 cup grated parmesan or romano cheese

*You just mix these in with the flour mix and add the beer!

Friday, February 25, 2011

Mini Meatloaves


I recently saw these on some website (I can't remember which...) But I decided to give these a try. I like a good meatloaf, but am not a big fan of waiting around for over an hour for it to cook. So with the decreased cooking time, these were perfect.
All you need is your favorite meatloaf recipe and a muffin tin!

So here's my favorite. It calls for 2 pounds of ground beef, but you can fit about a pound's worth of meatloaf into a 12-cup muffin pan... So either halve the recipe or do 2 rounds.

Here's what I needed:
2 pounds ground beef
1 packet onion soup mix
1/3 cup ketchup
3/4 cup bread crumbs
2 eggs
3/4 cup water

Mix all together in large bowl until combined. Press mixture into muffin cups (you can fill it almost all the way to the top). I added a little ketchup & brown sugar glaze to the tops.

Cook at 350 degrees for approximately 30 minutes. If you want, you can add a little cheese for the last minute or so, until it is all melty and delicious!

Enjoy!

Thursday, February 24, 2011

The Hunger Games


The Hunger Games Trilogy was a great, fast read. Although this is marketed towards Young Adult readers, I found this an intriguing story that was well-written.  The story takes place in a land called Panem, once known as North America. It now consists of a central Capitol that houses the government and the upper-class and the outlying Districts 2-12. There used to be a District 13, but that was destroyed during the rebellion as a reminder to the other districts of the Capitol’s power.  Each year, the harsh Capitol forces its people to participate in the Hunger Games. One girl and one boy from each districts is chosen by lottery to be sent to the Capitol to participate in a gruesome competition. This competition is to the death. Only one makes it out alive to reap the benefits of being a champion. The champion lives on in comfort and his or her district is given extra food for the year.

Katniss Everdeen from District 12 must support her depressed mother and younger sister after her father’s death in the coal mines.  She learns to hunt illegally and sell her finds on the Black Market. When her little sister’s name is pulled for the Hunger Games, Katniss willingly takes her place. We then follow Katniss through the Hunger Games as she makes an unlikely alliance with her District-mate, Peeta. 

Just when you think everything is resolved and the Hunger Games are over, the 2nd and 3rd books continue to keep your interest and the tension between the Districts and the Capitol builds, and secrets start unraveling.

The Hunger Games on Amazon.com

Tuesday, February 22, 2011

Easy Cashew Chicken

I originally got a recipe for cashew chicken from my sister, who got it from her friend... needless to say, I've lost the recipe and have started improvising.

So here's what I used this time:
2 chicken breasts, cut into bite-sized pieces
1 green onion, thinly sliced
1/2 jar Hoisin Sauce (I use the whole jar if I use more chicken)
handful of cashews
brown rice to serve

In a large skillet (with a bit of oil), brown chicken with green onion

before completely cooked,  add Hoisin sauce


Hoisin Sauce can be found in the Asian section of the grocery store
 Cover and simmer until chicken is cooked and sauce thickens (you can add more sauce if it looks too thin- I always eyeball it)

Pour over rice and top with cashews!

Monday, February 21, 2011

Pop Up Pancakes

I saw these yummy-looking pancakes here and thought I'd give it a whirl. They ended up only taking 15 minutes total to make and I already had all of the ingredients here at the house!
I halved the recipe since I was only cooking for 2.

So here's what I needed:

3 eggs
1/2 cup milk
1/2 cup flour
2 Tablespoons melted butter
dash of salt

*this will make 24 mini-pancakes or 12 regular size


Mix all ingredients together (can whisk by hand or with electric mixer)

Spray muffin tins and fill about 3/4 full. 


Bake at 400 degrees approximately 10 minutes. They will puff up beyond the rim of the tins, but they fall once you take them out of the oven.


To serve, you can add fresh fruit, powdered sugar and syrup or whatever your hearts desires!
I liked the mini versions because they were bite-sized:)  Delicious!