Friday, February 25, 2011

Mini Meatloaves


I recently saw these on some website (I can't remember which...) But I decided to give these a try. I like a good meatloaf, but am not a big fan of waiting around for over an hour for it to cook. So with the decreased cooking time, these were perfect.
All you need is your favorite meatloaf recipe and a muffin tin!

So here's my favorite. It calls for 2 pounds of ground beef, but you can fit about a pound's worth of meatloaf into a 12-cup muffin pan... So either halve the recipe or do 2 rounds.

Here's what I needed:
2 pounds ground beef
1 packet onion soup mix
1/3 cup ketchup
3/4 cup bread crumbs
2 eggs
3/4 cup water

Mix all together in large bowl until combined. Press mixture into muffin cups (you can fill it almost all the way to the top). I added a little ketchup & brown sugar glaze to the tops.

Cook at 350 degrees for approximately 30 minutes. If you want, you can add a little cheese for the last minute or so, until it is all melty and delicious!

Enjoy!

Thursday, February 24, 2011

The Hunger Games


The Hunger Games Trilogy was a great, fast read. Although this is marketed towards Young Adult readers, I found this an intriguing story that was well-written.  The story takes place in a land called Panem, once known as North America. It now consists of a central Capitol that houses the government and the upper-class and the outlying Districts 2-12. There used to be a District 13, but that was destroyed during the rebellion as a reminder to the other districts of the Capitol’s power.  Each year, the harsh Capitol forces its people to participate in the Hunger Games. One girl and one boy from each districts is chosen by lottery to be sent to the Capitol to participate in a gruesome competition. This competition is to the death. Only one makes it out alive to reap the benefits of being a champion. The champion lives on in comfort and his or her district is given extra food for the year.

Katniss Everdeen from District 12 must support her depressed mother and younger sister after her father’s death in the coal mines.  She learns to hunt illegally and sell her finds on the Black Market. When her little sister’s name is pulled for the Hunger Games, Katniss willingly takes her place. We then follow Katniss through the Hunger Games as she makes an unlikely alliance with her District-mate, Peeta. 

Just when you think everything is resolved and the Hunger Games are over, the 2nd and 3rd books continue to keep your interest and the tension between the Districts and the Capitol builds, and secrets start unraveling.

The Hunger Games on Amazon.com

Tuesday, February 22, 2011

Easy Cashew Chicken

I originally got a recipe for cashew chicken from my sister, who got it from her friend... needless to say, I've lost the recipe and have started improvising.

So here's what I used this time:
2 chicken breasts, cut into bite-sized pieces
1 green onion, thinly sliced
1/2 jar Hoisin Sauce (I use the whole jar if I use more chicken)
handful of cashews
brown rice to serve

In a large skillet (with a bit of oil), brown chicken with green onion

before completely cooked,  add Hoisin sauce


Hoisin Sauce can be found in the Asian section of the grocery store
 Cover and simmer until chicken is cooked and sauce thickens (you can add more sauce if it looks too thin- I always eyeball it)

Pour over rice and top with cashews!

Monday, February 21, 2011

Pop Up Pancakes

I saw these yummy-looking pancakes here and thought I'd give it a whirl. They ended up only taking 15 minutes total to make and I already had all of the ingredients here at the house!
I halved the recipe since I was only cooking for 2.

So here's what I needed:

3 eggs
1/2 cup milk
1/2 cup flour
2 Tablespoons melted butter
dash of salt

*this will make 24 mini-pancakes or 12 regular size


Mix all ingredients together (can whisk by hand or with electric mixer)

Spray muffin tins and fill about 3/4 full. 


Bake at 400 degrees approximately 10 minutes. They will puff up beyond the rim of the tins, but they fall once you take them out of the oven.


To serve, you can add fresh fruit, powdered sugar and syrup or whatever your hearts desires!
I liked the mini versions because they were bite-sized:)  Delicious!


Sunday, February 20, 2011

Mini Corn Dogs

I've recently become obsessed with my mini-muffin tins, because who doesn't love mini things? So, I've been trying out some different bite-sized foods. 

Here's some mini-corn dogs!

All you need is a corn bread mix and a few hot dogs. To make about 24, I needed 2 1/2 hot dogs and 2 boxes of Jiffy corn bread mix.

Spray your mini-muffin tins and cover the bottoms of the cups with a little of the corn bread mix.
Cut up the hot dogs into about 1/4 to 1/2 inch slices. Press one hot dog slice into each cup.


Then fill the cups with more corn bread mix. (don't overfill or it will be tough to remove them from the pan without breaking)


Bake about 8 minutes or until golden brown. Let cool a few minutes and then remove from pans.

I liked mine with ketchup!


Wednesday, February 16, 2011

Fruit-infused water

While I was shopping around for my new eco-friendly snack bags, I stumbled across this fruit-infusion water pitcher and thought... This appeals to me because I know I need to drink more water, and I tend to drink more water when it is flavored. There are those handy little flavor packets that you can add to your reusable water bottle, but most of those have artificial sweeteners and articial flavors, which I consume on a regular basis, but wonder what the long-term effects could be.  So I decided to give the whole fruit-infused water a try with my own pitcher.

The Takeya 2L pitcher from reuseit.com
The whole advantage of this pitcher would be that it keeps the fruit
 in the pitcher instead of flopping into your glass. But I have a pitcher with a built-in strainer, so I gave it a whirl.

I started by cutting up some strawberries and some peeled kiwis as I saw in the picture.


Now, in real life... the strawberries float to the top and the kiwis sink to the bottom. So not quite as visually appealing as the lovely advertisements show.

Then I let it sit in my fridge overnight before giving it a taste in the morning. The result is a light fruity taste that isn't too sweet or overpowering. I like it. The strawberries actually started to sink to the bottom.
Now to be practical, I transferred the mix to a less pretty plastic pitcher that has a built-in strainer so that everytime I pour the fruit doesn't come flying out at me.

I think I'll try a citrus version next with oranges and lemons.

As I did some more research, there are some pretty creative recipes out there... like Citrus Cucumber or Watermelon Basil and Lemon Lavender...not sure I'm ready to be that adventurous, but maybe someday;)

Tuesday, February 15, 2011

Ziplogic

I’ve recently made the commitment to cut back on my plastic bag usage, so I’ve started bringing my own bags to the grocery store- like many others I know.
However, my next step towards ‘Green’ living is going to be reducing the number of plastic baggies I use. Let me start with a little ‘Ziplogic’
If a person uses 2 plastic baggies every day in their lunch (on average- or maybe just me… I usually have a sandwich and a snack) this would be 10 baggies a week. Multiply this by 4 weeks, this is 40 every month and could add up to 480 a year! (give or take) And this is just for one person’s lunch… imagine the amount of trash we generate just in plastic baggies. Ick!
SO… I’ve recently purchased these reusable baggies, which come in a sandwich and snack size in lots of colors and designs. I decided to try out 2 different brands to see which one I liked better.
sandwich size

snack size


 The website states that the Lunchskins brand can be washed in the dishwasher (one reason why I picked these) I also liked the patterns available and the material seemed like it will resist messier items. The material is slightly stiffer and the snack size is pretty tiny... but very cute!

SnackTaxi bags

The website says that the SnackTaxi brand bags shouldn't be washed in the dishwasher because the colors could run, but they say they're easily handwashed or wiped clean.
I picked these because they fold over themselves, creating more of a spill-proof seal for loose items, like nuts or pretzels. The outer material is actually pretty soft and the inside is more vinyl-y than I expected (a good thing... and sorry for making up a word there...) I think these are my favorites!

Eventually, I would like to make my own, but since I am lacking a sewing machine (and, let’s face it, sewing skills) this will have to wait.

Monday, February 14, 2011

Home-made Peanut Butter Cups

In the spirit of Valentine's Day, I decided to attempt my husband's absolute favorite candy- the peanut butter cup...

So I based my attempt off this Martha Stewart recipe.
I didn't want to make quite as many, so I halved the recipe.

Here's what I needed:

 
1 cup powdered sugar
3/4 cup peanut butter
1 1/2 Tablespoons butter
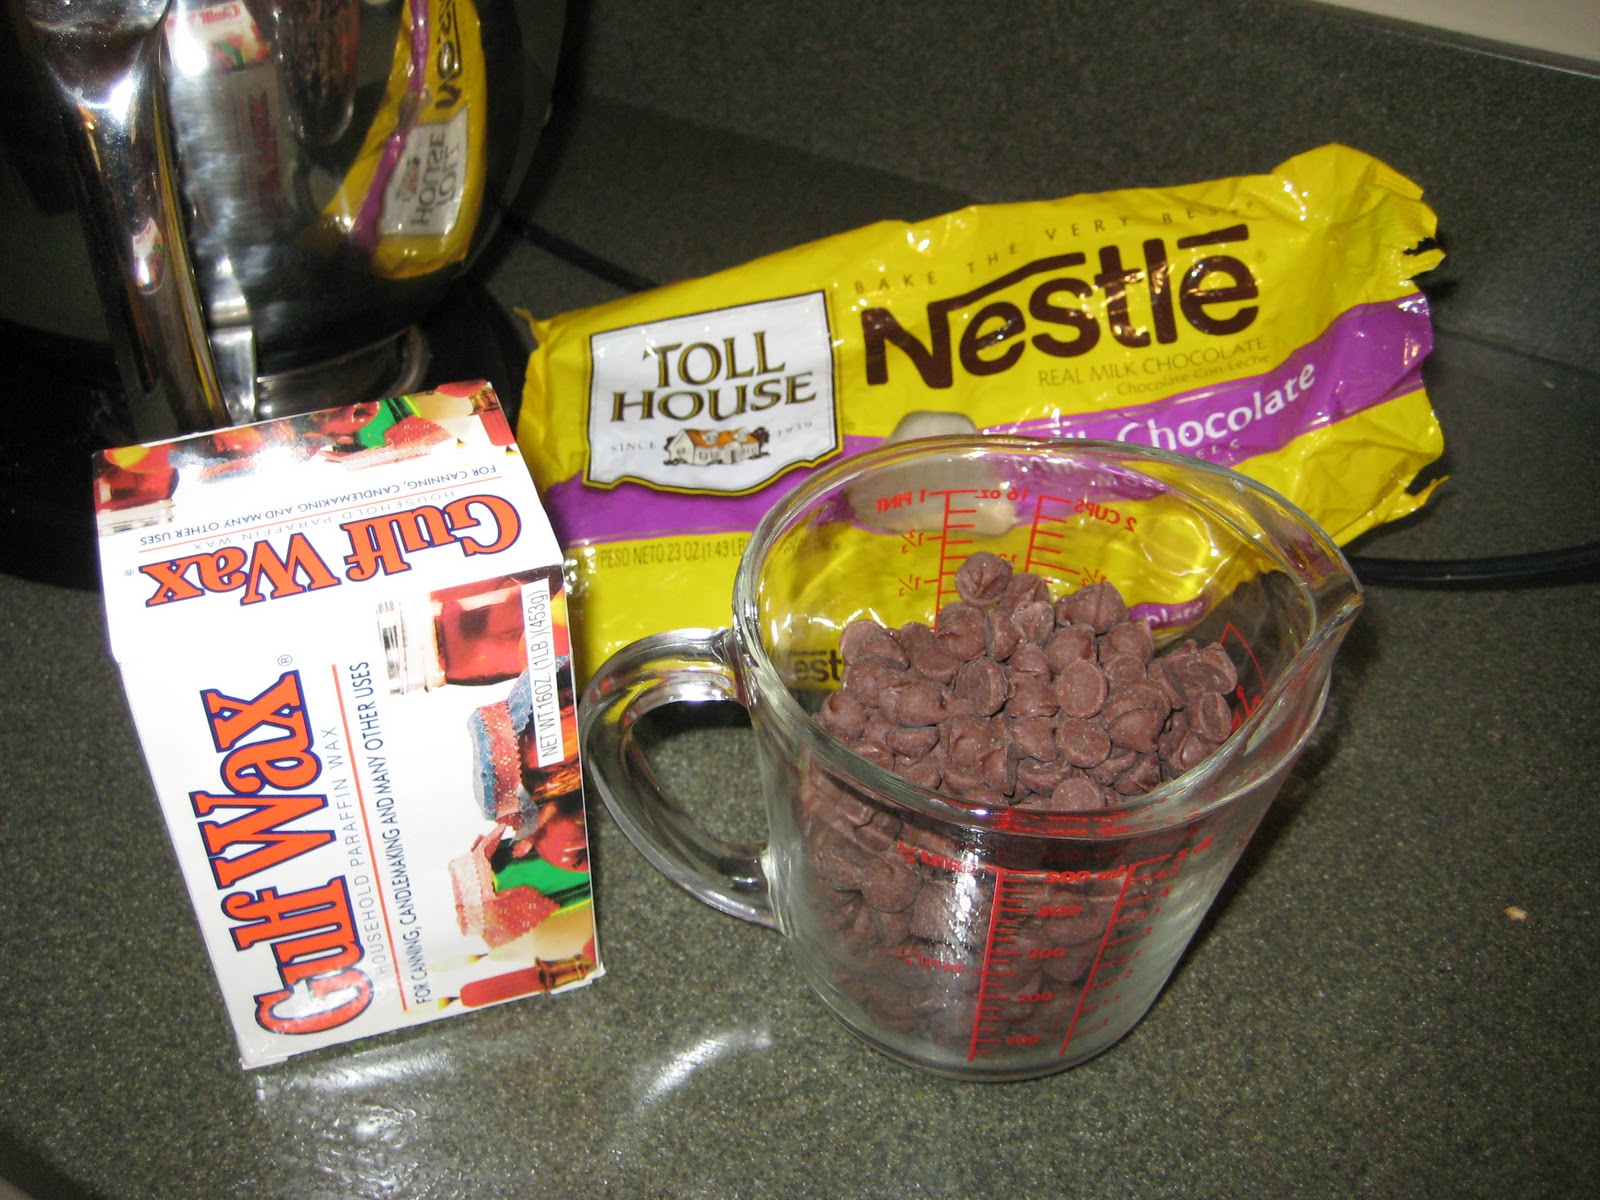
2 to 2 1/2 cups chocolate chips (I used milk chocolate because that is what I had)
small baking cups (paper or foil: the paper cups were a little tough to remove)
about 2 Tablespoons Gulf Wax*


* This is a little trick I learned from my mom when we would make Buckeye candy...you add a little of the Gulf Wax to help give the cups some shine and also to help to keep them from melting quickly at room temperature. I said 2 Tablespoons in the recipe, but I usually just eyeball it... You can find the wax in the canning section of the grocery store.
The cut portion is the amount I used: about a half inch to 3/4 inch thick
First, combine the butter, peanut butter and powdered sugar in an electric mixer and mix until smooth.
Meanwhile, melt the chocolate and wax in either a double boiler, or in a microwave-safe container.
Place 24 paper baking cups into the mini-muffin tins. Use a brush or spoon to coat the bottoms and sides of the cups. Place in the freezer until set- approximately 5-10 minutes.
After removing from the freezer, roll some of the peanut butter mix into balls and flatten them into the bottom of the cups.
Pour about a Tablespoon of the chocolate on top of the peanut butter and smooth to the edges.
Place back in the freezer until set.
Keep frozen until ready to serve:)


*To be honest, now that I think about it- these kinda taste like buckeyes, they're just in a different shape! But they got the husband's approval and they are way cheaper than the store-bought kind!

Sunday, February 13, 2011

Mimi's Butterscotch No-bake Cookies

I remember standing in my Grandma Mimi's kitchen learning how to make these cookies (which were my favorite- and still are) when I was in elementary school.  Of course, she didn't have the recipe written down, so I had to coax her into giving me measurements that didn't include a pinch or dab... I eventually mastered the art of these cookies and have been making them ever since. I think of her every time I make them!

Mimi's Butterscotch No-Bake cookies

what you'll need:
2 cups sugar
2 cups oatmeal*
1 box instant butterscotch pudding
1/2 cup milk
1/2 cup peanut butter
1 stick butter
1 teaspoon vanilla

* (I usually use the Quick 1-minute oats, but in this instance I accidentally grabbed the old fashioned oats that had been on my counter from making the Easy Granola... I didn't really notice a difference in taste- maybe a little more bite to the texture, but it certainly didn't ruin it for me!)

Directions:
In a medium size pot, combine sugar, milk and butter
Stir over medium-high heat until just bubbling (not boiling) This is the tricky part. Don't leave the room- you might burn it. And you do want to stir often.
Once the mixture bubbles, turn off the heat and add the remaining ingredients until all combined.

Drop by spoonful onto wax paper to let cool. They will easily peel off and you can store them as you like.
They may not look all that pretty, but trust me- they are addictive. I have to hide these from myself ;)

I actually tried something a bit different this time to see if I could improve a bit on the presentation. I put a little of the mix into my mini-muffin pan to see what would happen.  It turned out OK- little cookie bites. I did have to use my spoon to pry them out.

Saturday, February 12, 2011

Those Who Save Us


This is a story that alternates between the present-day Trudy, a history professor collecting first-hand accounts of Germans living during the Holocaust, and the story of her German mother living during the Holocaust. Trudy's mother Anna grows up during the beginnings of the Holocaust and falls in love with a Jewish doctor, which is forbidden, of course.  She becomes pregnant with the doctor's child just as he is taken to the camps. She must hide the true identity of Trudy's father as she runs away from home to work in a local bakery.  She strikes up a friendship with the baker and they join the resistance efforts. Anna and Trudy's survival eventually land in the hands of a high-ranking German official. Without giving too much away, Anna ends up in America married to an American soldier and she refuses to disclose how she survived all those years during the war.  It is through Trudy's research that we finally begin to see what Anna had to endure to save herself and her young child in war-torn Germany.

Loved this...

Friday, February 11, 2011

Chai Latte

I don't know when I first encountered the chai flavor, but I love it. I make this mix in bulk and store in my Ball jars and drink it all year long!


Chai Tea Latte Mix


What you'll need:
1 cup nonfat dry milk powder
2 cups powdered non-dairy creamer
2 teaspoons dry vanilla powder *
2 1/2 cups cups sugar
1 1/2 cups unsweetened instant tea
2 teaspoons ground ginger
2 teaspoons ground cinnamon
1 teaspoon ground cloves
1 teaspoon ground cardamom


* it is hard to find dry vanilla powder- I've attempted to make my own by putting a little of the sugar in a food processor with the vanilla... but it usually sticks to the sides more than anything- so I've actually just omitted the vanilla the last few times I've made this and I haven't noticed a difference in taste.


Cardamom:
this is what gives it the 'chai' flavor. This is in the spice aisle of the grocery store and can be quite expensive- but a little goes a long way. I've made this several times and have hardly made a dent in the bottle.


Directions:
Combine all ingredients in a large bowl and mix.
In a blender or food processor, process 1 cup at a time until fine.
Store in air-tight containers.


To serve:
Add 2 Tablespoons to approximately 8 ounces of hot water.
Enjoy!

Thursday, February 10, 2011

Outlander Series

I stumbled upon this book when I was trying to stuff my Nook with ebooks before heading off to jury duty... and now I'm hooked.

This 600 pager chronicles the perilous journey back in time by the main character, Claire.  The happily-married Claire finds herself separated from her husband, life and time period. She encounters the rustic Scottish descendants of her husband's family and she struggles to survive in the world in which she doesn't belong. This develops into a wonderful (although intense and often barbaric) love story- I found myself drawn into the emotional bond between the two main characters (similar to how I felt while reading the Twilight series...)

Lucky for me, this book is the first in a series of 7! Possibly an 8th sometime in 2012?! 

**UPDATE: I've finished book # 2 (Dragonfly in Amber), book #3 (Voyager), book #4 (Drums of Autumn)  and am now starting book #5 ( The Fiery Cross).  I guess you can say I'm hooked. Even though these books are loooong, there's rarely a dull moment! Looooove!

**5/04/11: I will say that I've slowed down tremendously with book 5... There are more slow spots and I find myself doing a bit more skimming.  I do still enjoy the story that is being told, perhaps I could do without some of the detail? I'll get back to you when I'm on to book 6.
Outlander on Amazon.com

Brain Food

They say breakfast is the most important meal of the day... but I've never really been a breakfast person. I like cereal, especially granola-like crunchy ones, but those are usually the most expensive. So I decided to give it a go with making my own granola. Suprisingly, I was successful!

Easy granola:
here's what you'll need:

4 cups old-fashioned oats (not the 1-minute kind)
1 cup sliced almonds
1/2 cup shredded coconut
1/4 cup shelled sunflower seeds
1/2 cup pure maple syrup
2 Tablespoons canola oil
1/2 teaspoon salt
(optional: 1 cup dried fruit)

Heat oven to 350 degrees
On a rimmed baking sheet, toss oats, almonds, coconut, and sunflower seeds with maple syrup, oil and salt.
Bake, tossing once, until golden and crisp (25-30 minutes)
Add dried fruit if desired and toss to combine. Let cool.
Keep at room temperature in an air-tight container for up to one month.


I eat this for breakfast with cold milk! Or I take some in a baggie as a snack (I add some dried cranberries for snacking)

mmmm....